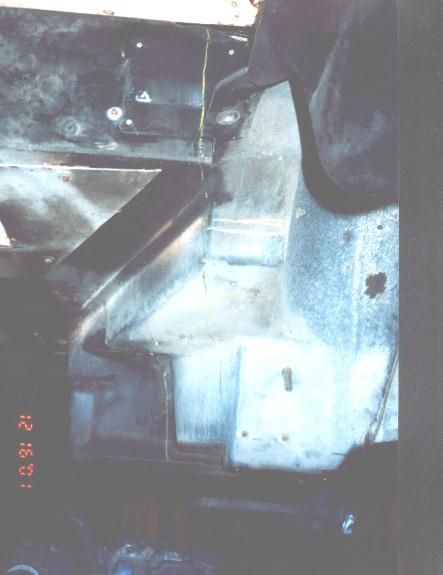
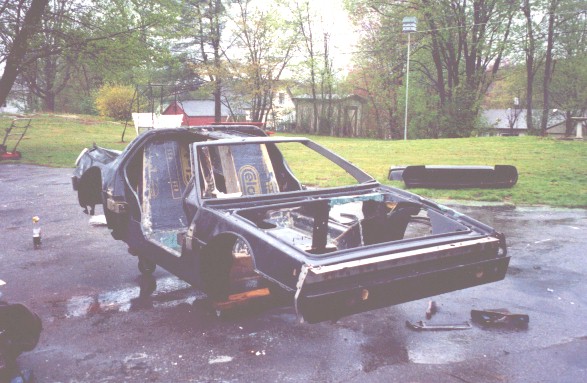
 Initial inspection, just to get a feel for where to cut. When I saw the asbestos shield that the manufacturers of the Delorean put between the underbody and the Renault transmission, I made sure to read between those lines.
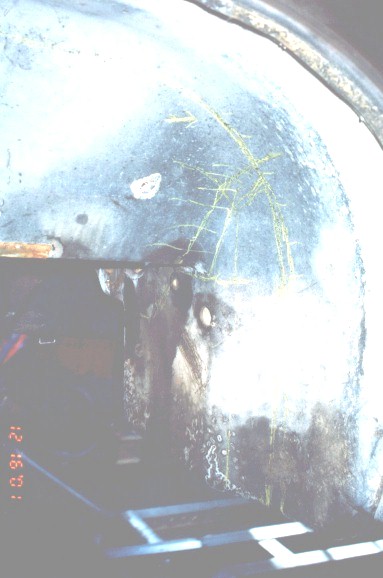
 It was a given that a lot of the composite underbody would have to be cut away to make room for the new frame. At several points in time, I lowered the body onto the frame to identify the interferences, which I marked up with yellow crayon.
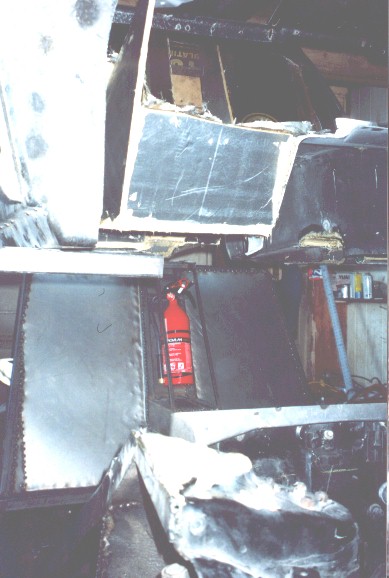
 Here we go! The first cuts in the underbody. I gained an appreciation for the construction of this underbody. It was surprisingly strong and hard to cut. That white plastic dust was pretty miserable. It got everywhere, except in my airway, which was always protected.
 The cutting of the body was done in several stages, so that I wouldn't be excessive. I wanted to cut away only what was necessary, and no more. Any weaknesses I introduced were going to have to be strengthened later.
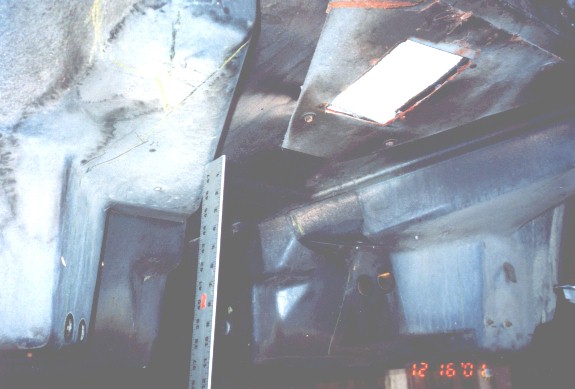
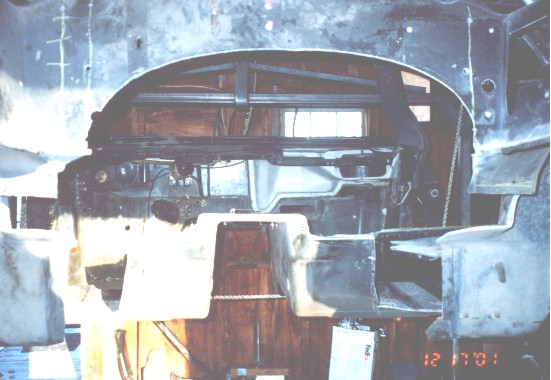
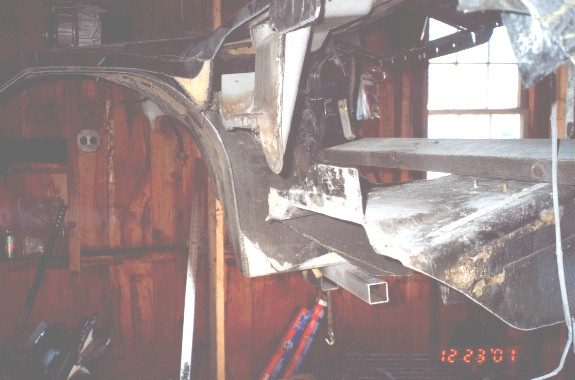
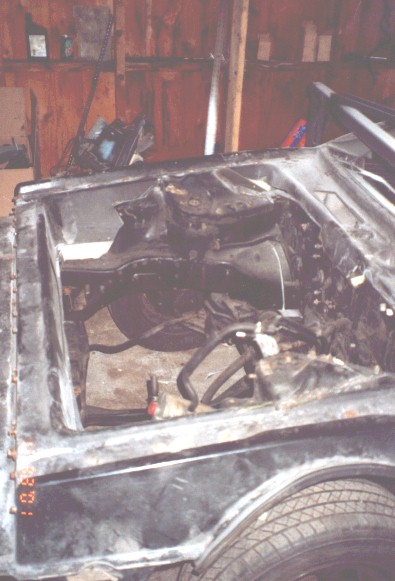
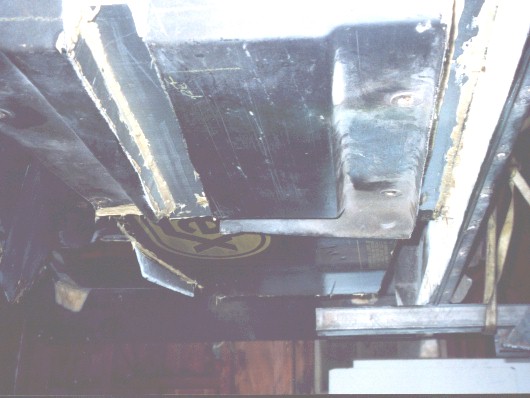
 Interference testing. In these pictures, the underbody is about 4 inches above its final location, and still interfering in several anticipated points, most notably the side rails, crossbeam, and the firewall.
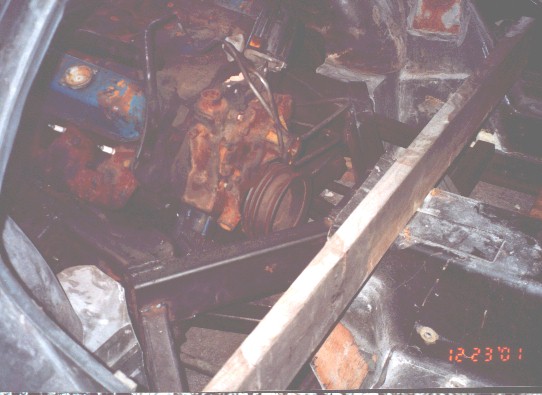
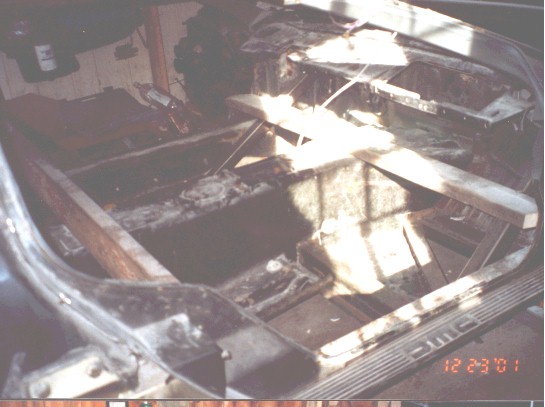 To resolve the last interferences, almost the entire bottom of the underbody was removed. The centerbeam portion of the underbody is now completely detached from the rest of the underbody, and is held in position only by the two 2x6's.
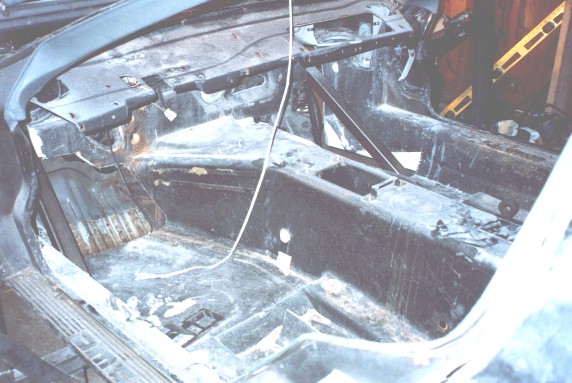
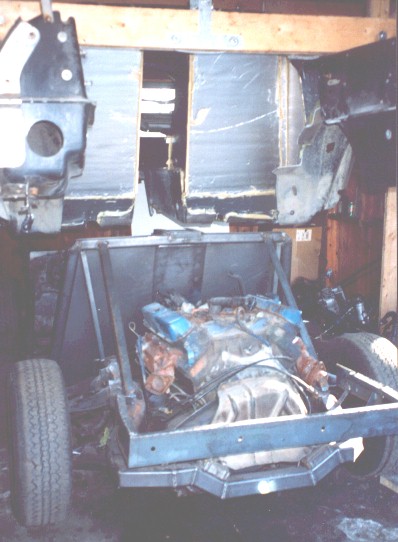
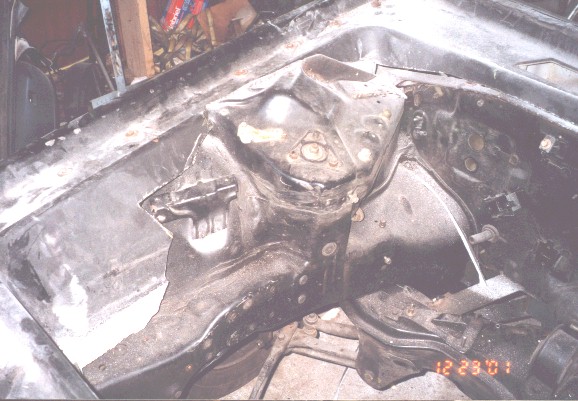 I was afraid of this. My original measurements of the Prelude engine showed that it would fit - barely, of course, but it seemed probable that the protrusion next to the strut towers would not. The fit was going to be so close, that it exceeded my capacity to accurately measure it, so it wasn't until this stage that I could confirm this suspicion. This protrusion had to be trimmed down. I really didn't want to, but sometimes there's no choice but to compromise.
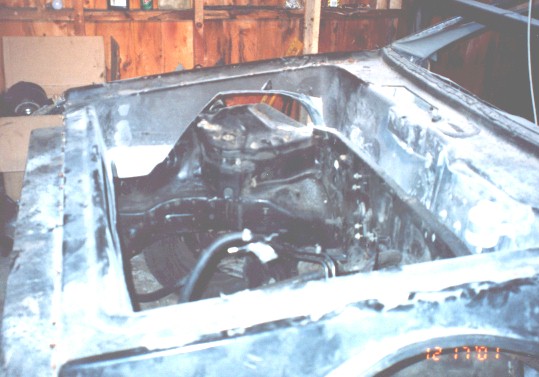
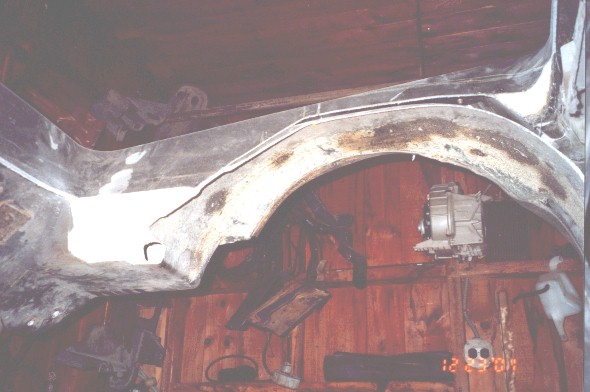 The underbody is very flimsy at this point. All of the interferences have been resolved, but none of the reinforcements have been added in yet.
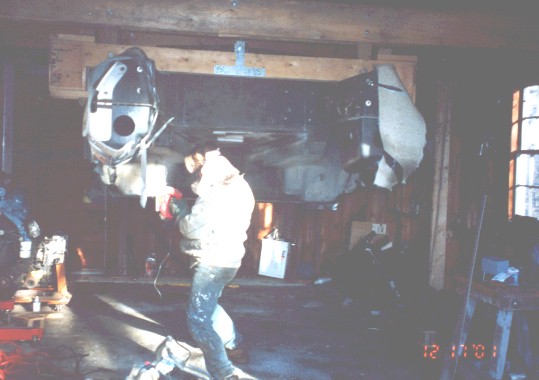
 The flimsiness of the perforated underbody presented a design challenge. It seemed unlikely that the underbody could, at this stage, maintain the correct shape under the force of its own weight. It was necessary to lower the underbody skeleton onto the frame, and install the body panels and doors, prop the rickety structure into position, verify the geometry of the underbody, and define the final mounting points between the underbody and frame. I'm glad I went through this trouble. On close inspection, it was apparent that the front and rear of the perforated underbody were pulled down 3/8 inch by gravity. Going through the trouble of making these measurements allowed definition of the final mounting points with sufficient precision to line the body panels to at least factory specifications. Wearing the headband is my friend Dennis helping me install the doors.
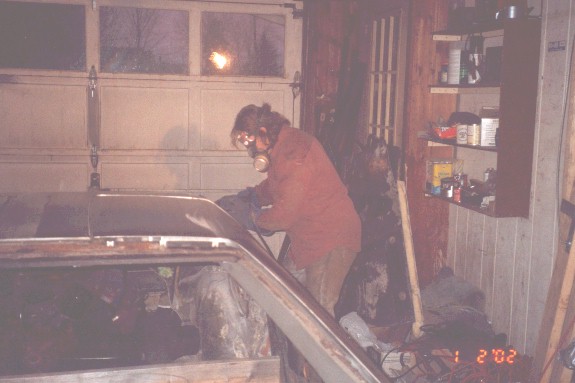 This time seemed like the logical time during which to scratchbrush the panels. It took me a day and a half to screw it up, and a day and a half to fix it. The learning curve of the body motion needed to get good results was pretty steep for me.
 After the scratch brushing was done, I let the panels sit for a few days to allow the surface to passivate. Probably overkill.
 I get a kick out of this front engine compartment. It represents a lot of work.
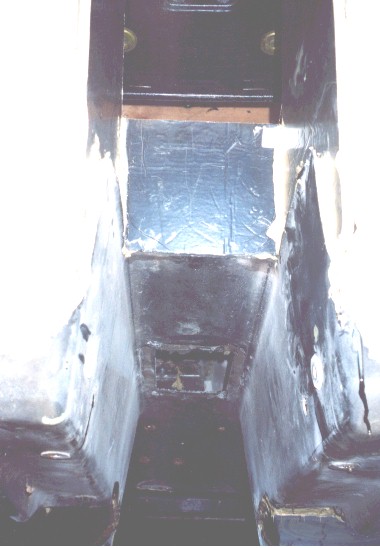
 After verifying and finalizing the underbody mounting locations, it was time to rebuild all the underbody structures that were cut out, in their new places. It was fun, because it was done with glued in sections of 1/2" polyurethane foam, which cuts easily with a utility knife, and glues up quickly, providing some fun instant gratification. After gluing in the panels, the inside of the glued up passenger compartment was layed up with fiberglass. I neglected to take pictures of the interior layup, which I regret, but it's done at this stage. In these pictures, you can see the unfinished exterior of the bottom of the foam panels. Even with only the inside laid up, it's already strong enough to stand in.
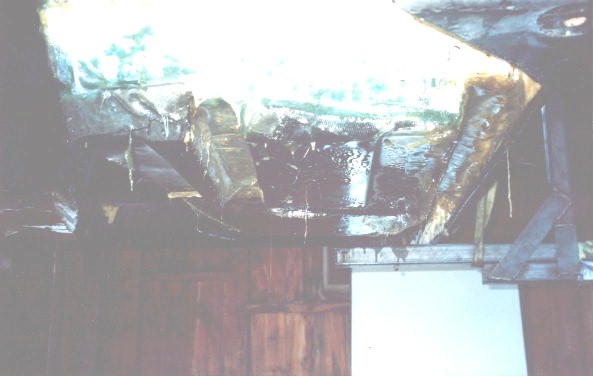 This was the most miserable part of the project, laying up the bottom of the foam panels. Uncured resin dripped all over the place. If I were going to do this again, I'd flip the underbody over and lay it up from above.
 It worked out well in the end. The underbody came out nice and strong. I took advantage of a few straight days of rain to wash the underbody. The fascia are being "washed" on the lawn.
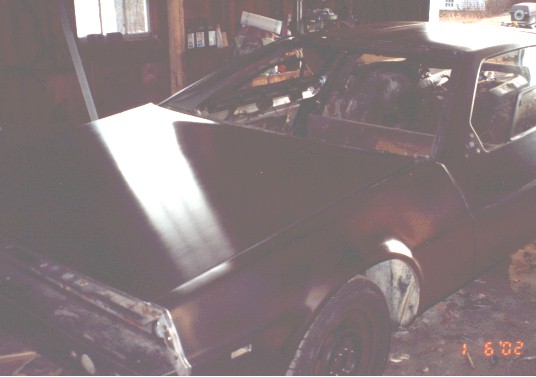
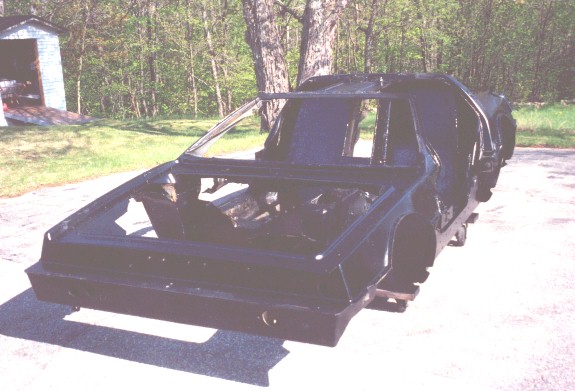 Low gloss black paint sure helps the appearance.
 Forward to the Suspension.
 Back to Index.